-
E-mail
2856852575@qq.com
-
Phone
17317720962
-
Address
Room 307, Taichen Business Building, 158 Bole South Road, Jiading District, Shanghai
Shanghai Ouqin Electromechanical Engineering Technology Co., Ltd
Describe the correct installation steps for DESTACO clamps
Date: 2025-10-20Read: 48
DESTACO clamp, with its advantages of rapid response, stable clamping force, and compact structure, has become a key clamping unit on modern automated production lines, robot end effectors, and CNC machine tools. It drives the piston or swing cylinder through compressed air to achieve the opening and closing action of the jaws, and is widely used in workpiece grasping, positioning, handling, and assembly. The clamping accuracy and service life highly depend on scientific and standardized installation steps. Mastering the correct installation steps of DESTACO clamps is the key to ensuring production safety and improving clamping efficiency.
Step 1: Environmental inspection and component confirmation
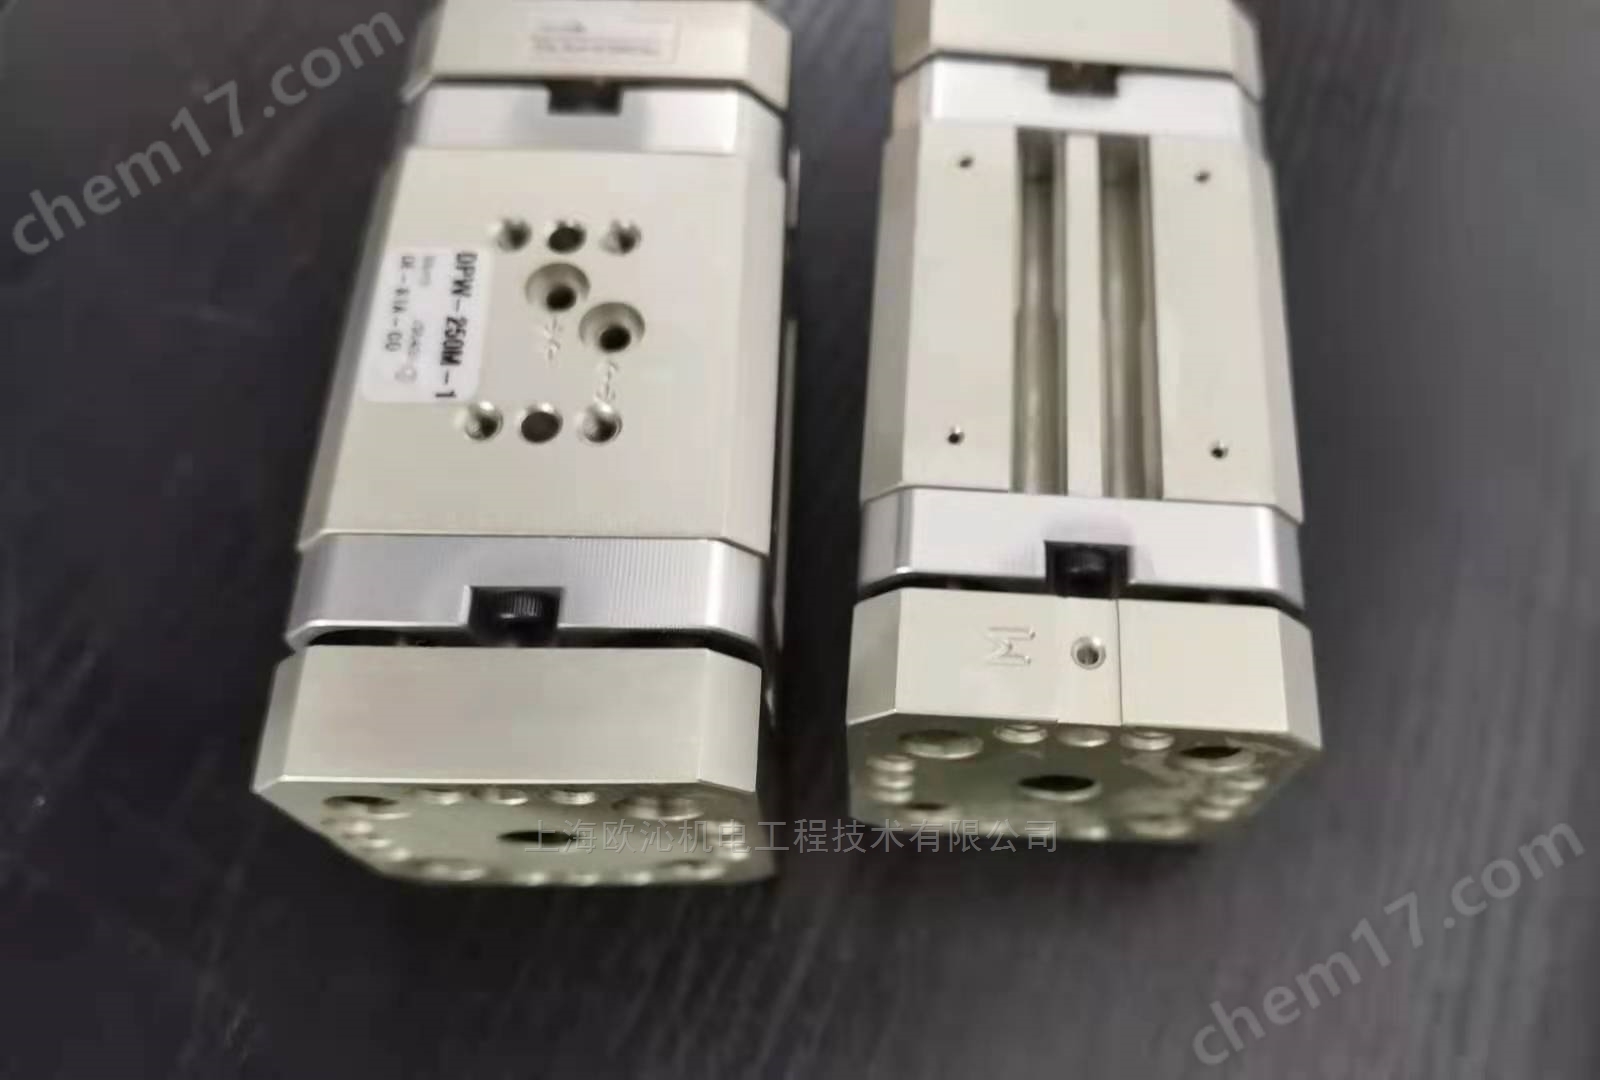
Before installation, confirm that the air source pressure meets the clamp requirements (usually 0.4-0.7MPa), and equip it with three components (filter, pressure reducing valve, oil mist device) to purify the air, stabilize the pressure, and lubricate the cylinder. Check the clamp model, stroke, clamping force and match with the clamped workpiece. Check that all accessories (installation bolts, joints, sealing rings) are complete and undamaged.
Step 2: Installation location planning and benchmark setting
Determine the installation position and orientation (horizontal, vertical, or inclined) according to the process requirements. Ensure that there are no obstacles in the movement trajectory of the clamp and that there is sufficient opening and closing space for the clamp. Mark the positioning holes on the installation base and use a level or positioning fixture to ensure that the installation surface is flat and the benchmark is accurate.
Step 3: Fix the clamp body
Align the pneumatic clamp with the installation hole and use bolts with the specified torque (such as grade 8.8) to firmly fix the clamp on the base or end of the robotic arm. It is strictly prohibited to use impact wrenches to prevent deformation of the shell or thread slippage caused by over tightening. For multi-point fixed clamps, diagonal sequence should be gradually tightened to ensure even force distribution.
Step 4: Inspection of gas path connection and sealing
Select a PU or nylon trachea with a suitable inner diameter, and connect the air inlet of the clamp (usually marked with "IN" or "P") to the control solenoid valve through a quick connector. The double acting clamp needs to connect two trachea (open/close). Blow the trachea before connection to remove impurities. After connecting, check if there is any air leakage at the joint, which can be detected by applying soapy water.
Step 5: Jaw installation and workpiece adaptation
Select the appropriate jaw (flat, V-shaped, serrated, soft rubber wrapped, etc.) according to the shape and material of the workpiece, and fix it with internal hexagonal screws or pins. Adjust the opening and closing distance of the jaws to ensure even contact and no uneven load during clamping. Use waste materials to verify clamping stability and positioning accuracy during the trial clamping process.
Step 6: Action testing and parameter adjustment
Connect the air source, manually trigger the solenoid valve, and observe whether the clamp opens and closes smoothly and in place. Adjust the pressure reducing valve to the recommended working pressure to avoid excessive pressure causing impact or insufficient clamping force caused by low pressure. For clamping actions that require buffering, the throttle valve can be adjusted to control the opening and closing speed.
Step 7: Safety protection and signal feedback
If the clamp is equipped with a magnetic switch for detecting the position of the clamp (open/closed), it needs to be installed correctly and the signal line connected. Install protective covers to prevent operators from accidentally touching moving parts. In robot applications, ensure that the clamp status signal is interlocked with the control system.
Step 8: Operation Monitoring and Maintenance Plan
Observe the entire process during operation to confirm that there are no abnormal noises, vibrations, or air leaks. Develop a regular maintenance plan: check the trachea and joints weekly, lubricate the cylinder monthly (through an oil mist device), and check the wear of the jaws quarterly.